Tips For Installing Your Glass Shower
Once you have completed tiling of your bathroom, the next challenge is to install a glass shower. There are many design and material options available in the market but you must ensure that it is practical and well designed.
The installation of a Glass shower might be simple and there are several Do-It-Yourself kinds that can be setup easily with a few basic tools and instructions. Alternatively, you can opt for the services of a professional to avoid any errors in setting up the glass shower. Remember that small mistakes may end up costing you a fortune later on. Installing a glass shower entails special installation steps.
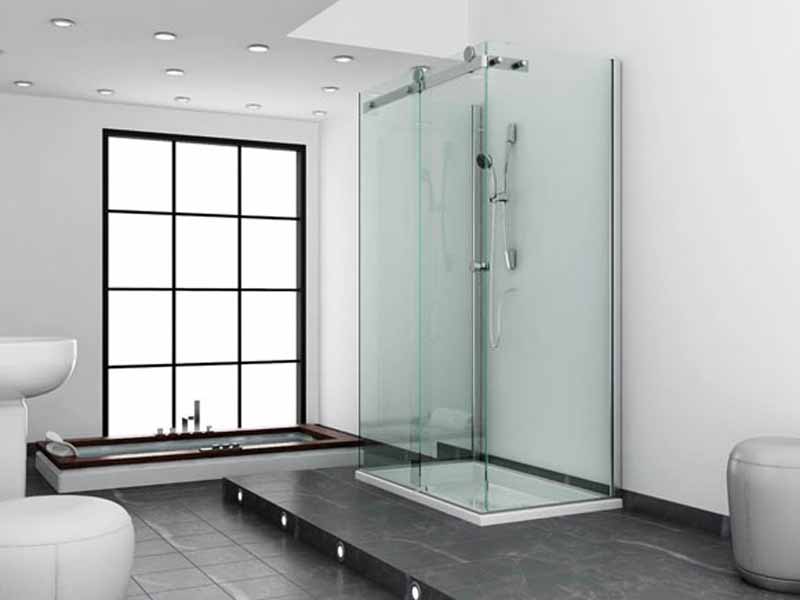
One very frequently used option used to design the shower area in a bathroom is glass. It can be found in a variety of styles, be it clear, frosted or textured. Apart from being easy to maintain, glass reflects light into the shower making it look spacious and bright. The glass shower enclosure is mainly of two kinds- framed and without frame. In a framed design, glass panels are surrounded by frames while the frameless ones are thicker, stylish and easy to clean.
Steps for a Glass Shower installation
- While each shower system is unique, the installing procedure is quite the same. If you are doing it yourself, the manufacturer will apprise you with instruction manuals and detailed step by step guidance.
- Prior to installing the frame, you should take accurate measurements of the shower area. The shower curb edges should be measured accurately as it is the foundation for the final lay out. Initially, it is better to install the base track for the glass doors.
- While taking measurements, it is very important to get the right height, width, angles and alignment. Also mark the position of the door in relation to the shower.
- The next step is to drill holes for the side rail fasteners, handles and hinges and, if needed you can imbed anchor plugs.
- Now place silicone caulk on the line marked for the shower area and set the base track on it. This is very important to prevent leakage.
- This is followed by setting the side tracks properly using screws to attach them. It is better to use silicon caulk on the posterior side of the tracks to make it water resistant.
- You can now set the glass panels and midway vertical rails.
- Once you have the glass panels and rails in place, you can install the top rail. Complete joining is accomplished by fixing the vertical rails using fasteners and screws.
- The final step is fitting the shower door. Before you proceed to the door fitting you must ensure that the concerned wall is exactly plumb or vertical. This is a very important to prevent gaps between doors and walls. The shower door needs to be installed in such a manner that helps it to open and close smoothly.
- Once the door assembly has been secured in place on the top and bottom rail with the help of screws, you can finally attach the necessary door accessories, hardware and other fittings. Make sure that the door setting is being plumb by using a level.